BulgingButtons

Not bad for a fat girl


Leave a comment

I’ve Discovered Rulers!

Quilting rulers, that is. Some people call them templates, but for my purposes I’m going with the term rulers. Anyway, last weekend I took a long-arm quilting class to help me develop my skills as a quilter. After all, I figured, if I’m going to devote an entire room of my house to this machine and frame, as well as considerable resources (read time and money), I should probably get at least passably good at it.

It was not my first long-arm class. The others focused on free motion quilting. I love the look of it, but it’s not as easy as those amazingly skilled YouTubers make it seem. Still, I did okay on the long-arms in the classroom. I had considerably more trouble on my own machine at home. I know there are some huge differences between the types of machines. I pretty much have the Yugo of quilt machines (the manufacturer calls them entry-level), and I was practicing on the luxury sedans during my classes. They’re heavier and their carriages move more smoothly. Those aren’t excuses, they’re facts. However, I have what I have, and I want to get good at it, so I need to practice, practice, practice. Even a Yugo can get a person from place to place.

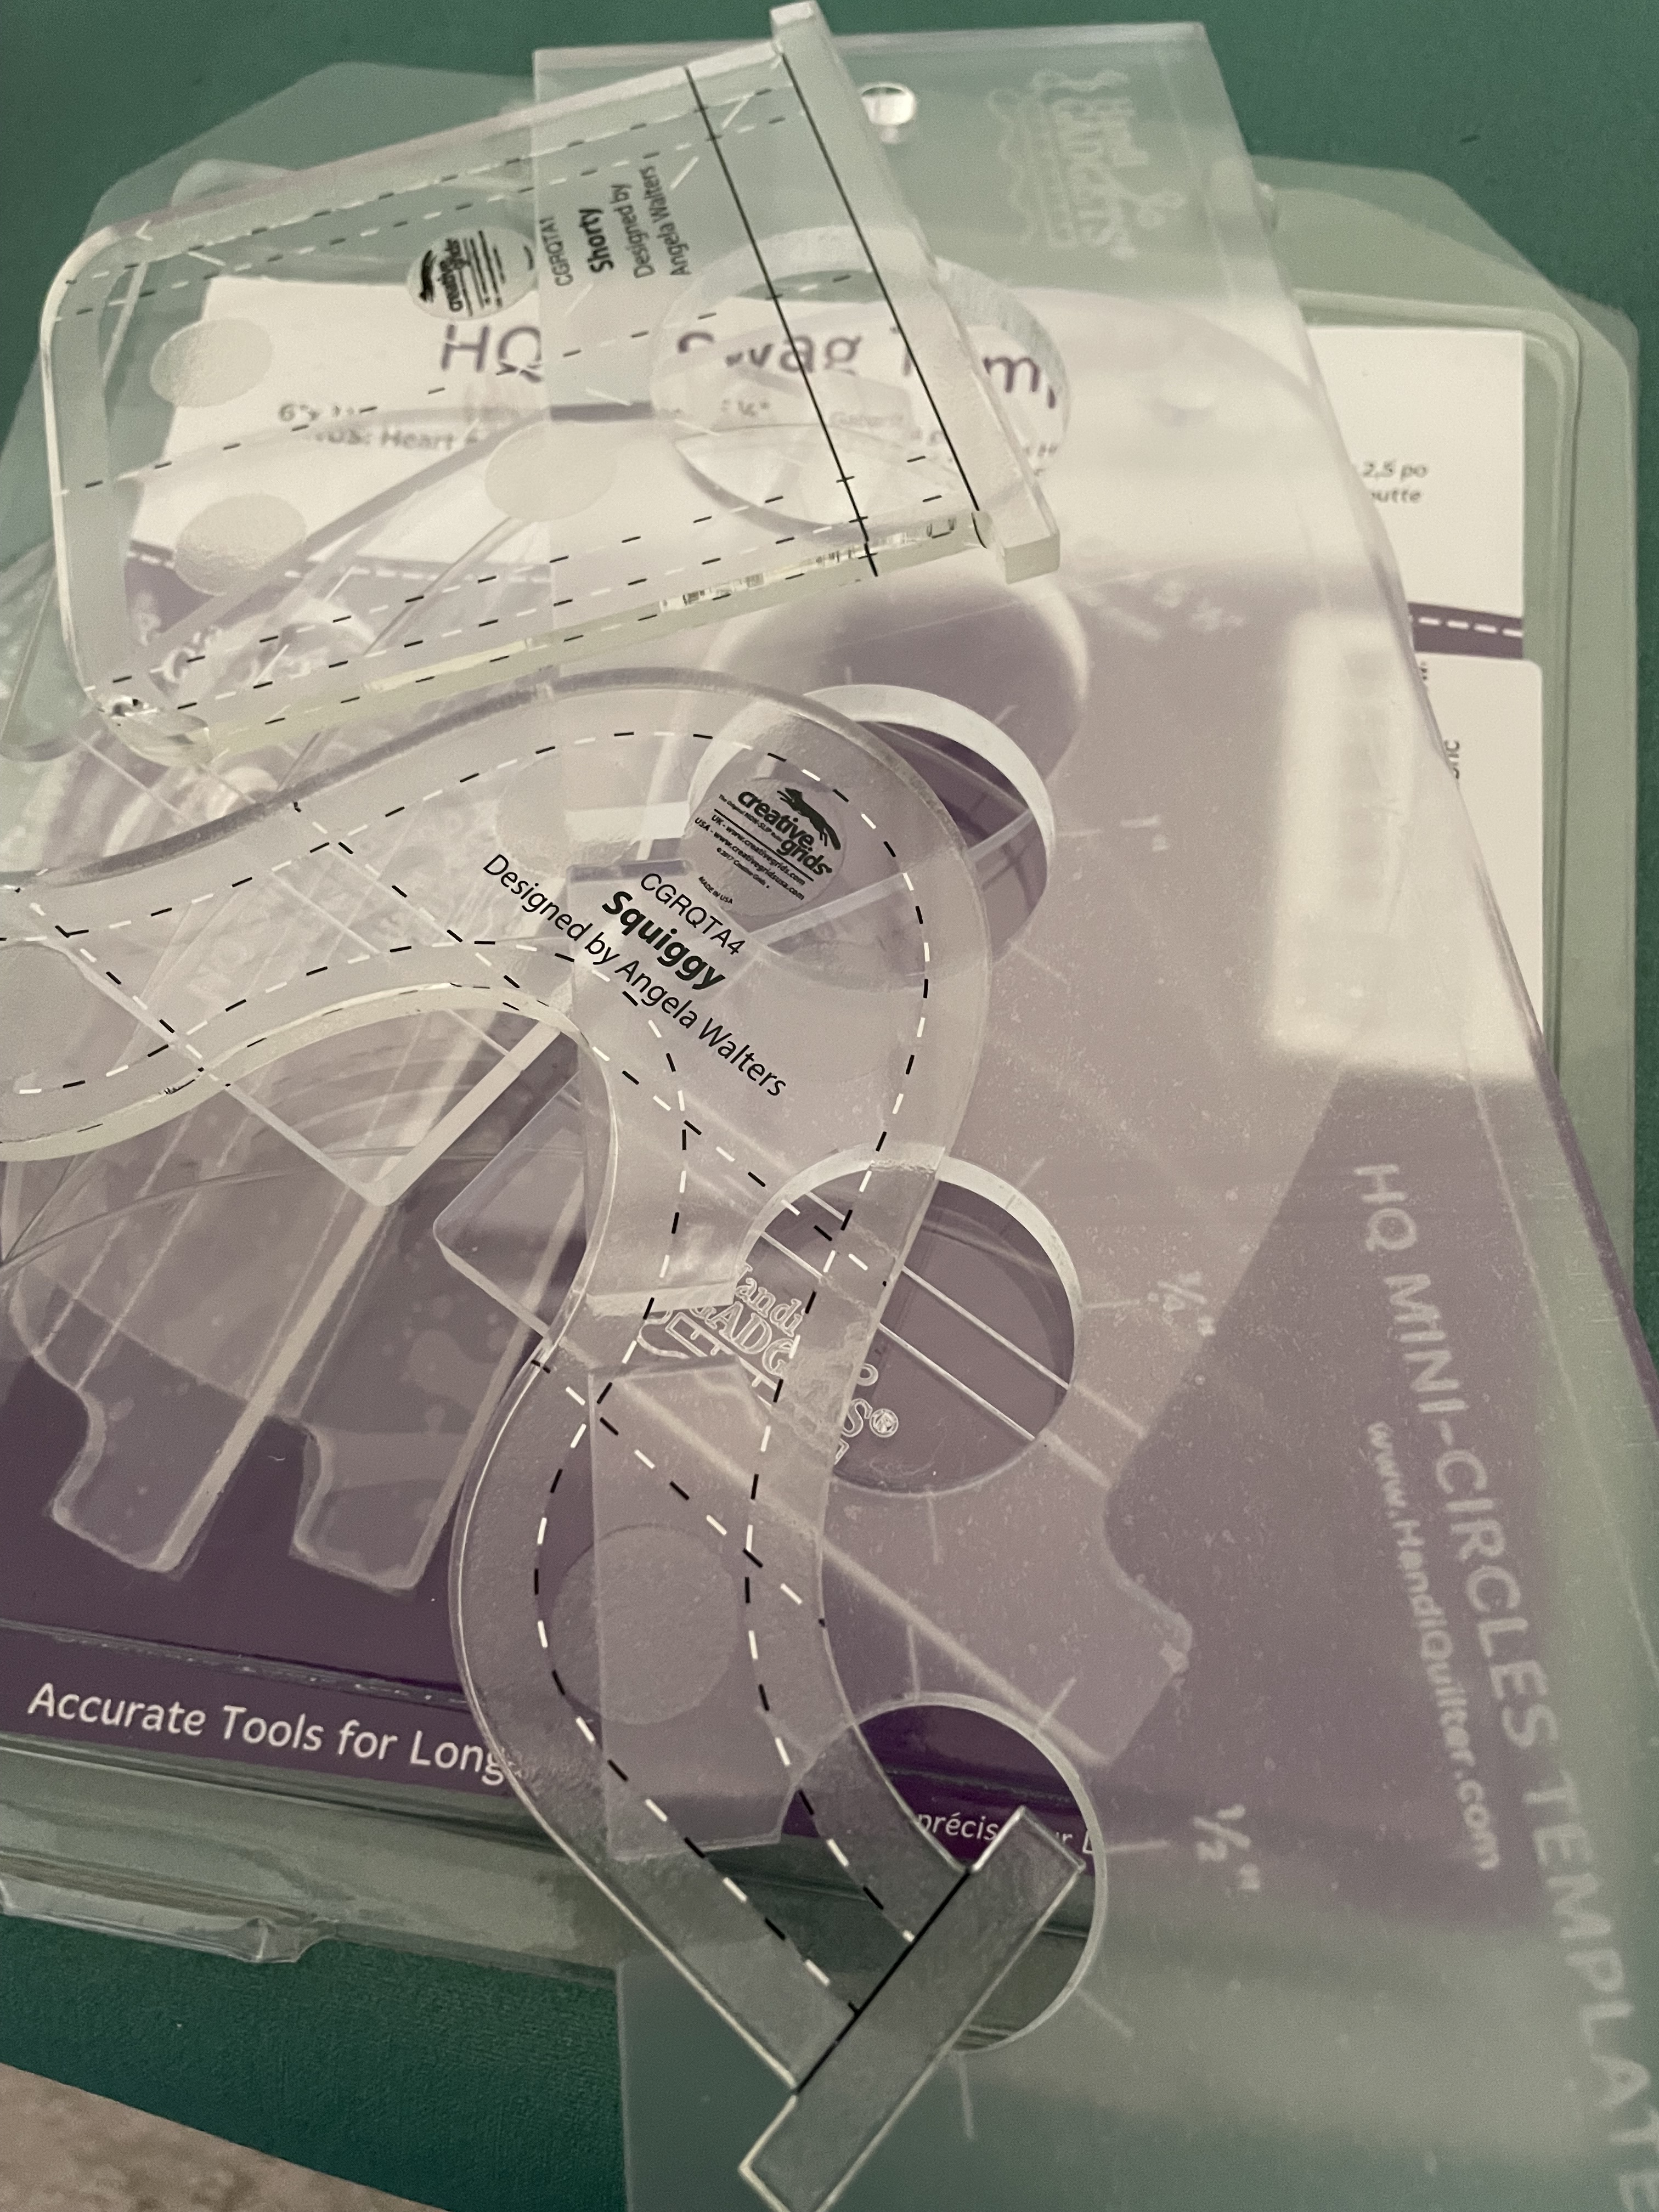
I was looking forward to the ruler class. I hadn’t tried it at home yet, and I was eager to see what it was all about. First off, you need some essential equipment to do this type of work. There’s a ruler base for the machine, which I chose as my “upgrade” from my dealer when I got my machine. Smart choice. Then there’s a special foot, and lastly special rulers. I had two of those already from my attempts to use them on my regular sewing machine (that’s a whole different story, and a contributing factor to me buying the long-arm, but I digress).

In the class we learned techniques, then we practiced. We used large rulers, we used small rulers. We quilted grids, curves, circles, and stars. We tried clamshells and waves, and all sorts of fun things. We marked guide lines and quilted with them and without them. We combined rulerwork with free motion quilting. It was fun. It was satisfying. It looked pretty good (for the most part). I could do this!

With the purchase of a couple more basic rulers I set off for home and my own darling machine. The week got away from me, and it wasn’t until yesterday that I finally got a quilt on the frame. It was one I whipped up quickly using OLD material. It features a fun, brightly colored patterned stripe, and it worked up quickly. I figured it would be a good one to practice new techniques on. So far it has been. I’ve pulled out my rulers and begun to quilt it, and you know what? My machine does curves just fine! Using the rulers has given me a greater degree of accuracy and confidence. I know I have a long way to go to improve my skills, but by golly I’m going to get there. I’m so glad I finally tried out the rulers. Now back to the long-arm, I have a quilt to finish up.


Leave a comment

Six Quilts Done, Forty-four to Go

To break even on my long-arm quilt machine, that is. Except that five of the six are baby quilts, so they probably shouldn’t really count, but I’m counting them anyway. Of course there will never be a real break even point, because there are always things you have to keep getting, like threads and machine feet and batting and rulers. Breaking even isn’t the point anyway. The point is I can finish my quilts on my own. I find that idea satisfying, even if I’m not entirely satisfied with my skill level yet.

Learning new skills takes time, and this one is no different. I liken it to riding a bike. At first you worry about balance. But then there’s steering and pedaling and if you ignore any of those you won’t have much success. There’s a fair amount to pay attention to with the long-arm also. Correct loading, tension on the frame, thread tension, speed, and smoothness all come to mind. I need practice with it all.

I just finished quilting number six. It’s another baby quilt, but they’re good for practice, and to use up some of the fabric that’s been hanging around my sewing room for years. I bought the fabrics for this one when my son was in preschool, with this pattern in mind. It would have been a fun one for him when he was little, but at 24 he’s definitely outgrown it. I don’t mind though, some little *kid somewhere will enjoy it ( *I almost said boy, but girls can like vintage race cars too).

Now I need to bind the quilt, and another project will be officially finished. I love the sense of accomplishment I get from completing quilts on the long-arm. I may not be great at it yet, but I keep getting better, so I’m satisfied. Practice may not make perfect, but it definitely makes progress.

Isn’t this great fabric? I used a checkerboard flag fabric with it for a simple but striking quilt.


Leave a comment

Such a Bright Quilt!

And done!

I’m so pleased this braid quilt is done. I was going to say finally done, but that’s not really the case. I have a quilt tops that have been around for 20+ years, but not this one.

This one was started this past spring while school was still in session. I was teaching full-time, working on finishing my National Board materials (not a small task, let me tell you), and trying to finish out the spring months with my sanity intact. Although I already started this quilt, I put it aside knowing that I just did not have enough time to do everything. In fact, it sort of motivated me because each time I looked at it thinking I wanted to work on it, I told myself to go work on my National Board submission.

Fast forward just a tiny bit, and school was out for the summer, and my National Board materials were submitted. I stopped and took a couple of deep breaths. Now I could quilt.

Since I recently bought myself a massive long arm quilting machine, I figured I better put it to good use. What better way to practice, then on a quilt that will end up in the hands of someone whose eyesight is not so great. That would be my mom. Unfortunately, she has developed quite a few problems with her vision, but she can still see bright colors. That’s what she asked for. A quilt with bright colors.

I got to work in my scrap bins, and cut up all these little pieces. Fortunately many of them were already in 2 1/2 inch wide strips. I put the pieces into a paper bag, and pulled them out at random to make the braids. Once in a while I re-pulled if the color was too similar to the one before it.

Putting the braids together was a lot of fun, and really a great stress reliever. It was getting the whole thing stitched together that was a little bit more of a challenge. I’m glad I saved that part of the project for after school let out. First, I had to decide what I wanted to put around the braids, if anything. I tried out a few different colors, and decided the turquoise was the way to go. I also was debating between either white or black in between. As you can see, I chose the black. My mom wants to use this on a bed in what used to be in my bedroom. Grandkids stay over regularly, so I figured the darker color would be a little easier to maintain. I love the way the black sets off all the bright colors.

The thing about this type of a quilt, is that when you do the braids you end up with a lot of bias edges. If you don’t sew, you may not realize that the bias edge is extremely stretchy. That makes it a little bit tricky to sew with, because those edges like to change size. Getting those turquoise frames around each strip ended up being kind of a hassle. Still, I got it done and loaded onto my quilt machine.

That’s where the fun really began. You see, I am a novice at this. I only have loaded the quilt machine three times. Well, actually four. The thing is when I put it on the quilting machine I forgot to check my tension before I started quilting. No big deal, right? Wrong. I got pretty far across the quilt before I realized that stitches were being skipped. That’s not good. However, I decided to ignore it and finish quilting the row. Big mistake.

When I got to the end of the row I looked under the quilt, and to my horror, there were tangles of thread all the way across the quilt. It was time to tear out stitches. Thousands of stitches. What took me five minutes to create took three days to undo. I even had time to order a new seam ripper and have it delivered before I had the job done. Once all of the stitches were out, I took everything off the frame and reloaded it.

This time I made sure to check my stitches on the side of the quilt before I got going. They looked pretty good to me, so off I went. Unfortunately, after a short while my thread broke. Maybe I threaded it incorrectly? I unthreaded the machine, re-threaded it, and tested the tension again. Then, it broke again. What was I doing wrong? I had to take a break, and watch a few videos to see if I could figure out the problem. I changed my needle, rethreaded the machine, changed the bobbin, and still it broke. Then I started to mess with the top tension, and all of a sudden the stitches looked a lot better. Yes, I thought they were fine before, but I was wrong. New tension setting in place, off I went to finish the quilting. Lesson learned.

The good news is that my quilting was better the second time around, so there’s that silver lining. I also ended up with an almost perfectly squared off quilt, which seems sort of miraculous considering how much fiddling I had to do with the turquoise and black strips. I had plenty of the black fabric left for binding, and much to my surprise the binding went on smoothly, and looked really good, if I do say so myself. Usually I hand stitch it down on the back of the quilt, but I decided to be brave and try a machine binding again. This was the first one I did that I’m actually happy with.

Mom’s quilt is done, and I learned a lot along the way. I also had the opportunity to use up some scraps, and to practice my longarm quilting skills. I love the bright colors, and I know she will too.